


Creating a messenger bot (e.g. Facebook, Instagram, SMS, Whatsapp, and etc) with an LLM might sound like a task reserved for seasoned tech gurus, but guess what? Even you can do it, and in less time than it takes to enjoy a cup of coffee. Whether you're a budding entrepreneur, a tech enthusiast, or just curious about the wonders of artificial intelligence, this guide is your friendly, no-fuss ticket to the world of smart bots. Imagine having your very own AI assistant on messenger for your business, ready to chat, solve problems, or even tell a joke or two.
So, grab your drinks, settle in, and let's embark on this delightful tech adventure together. In just 10 minutes, you'll be the proud creator of a messenger bot that's not only smart but also uniquely yours. Let's dive in.
Create a Free Agent with Vext
OK, so this is a Vext blog so obviously we're trying to promote our services, but we have a free plan that works perfectly with this guide so give it a try.
First signup for an account if you don't already have one, either via standard email signup or Google SSO. Once done, you will be welcomed by the following screen:

You can hit "Start" on the first list item or "Create Project" on the upper right to get started. Once done, you will be redirected to a new project page that looks like this:

Tips: You can select the "Untitled" or "This is an incredibly smart AI" description to rename them.
Now to add a new simple LLM agent to the workflow, hit the "+" icon between the "Query" and "Output" component and select "Generate a Response".
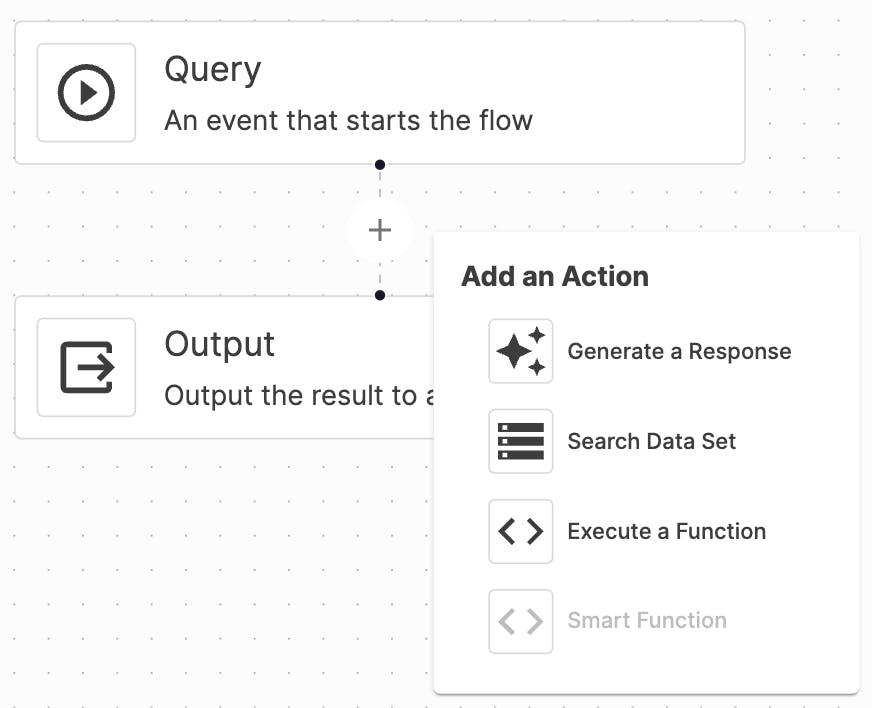
This implies that an action should be inserted within the workflow's process, occurring between its input and output stages, whenever a request is directed to this workflow.
Now a drawer should appear from the right, prompting you to configure your LLM. By default, it should be completely empty, but we're including an example here for your reference:
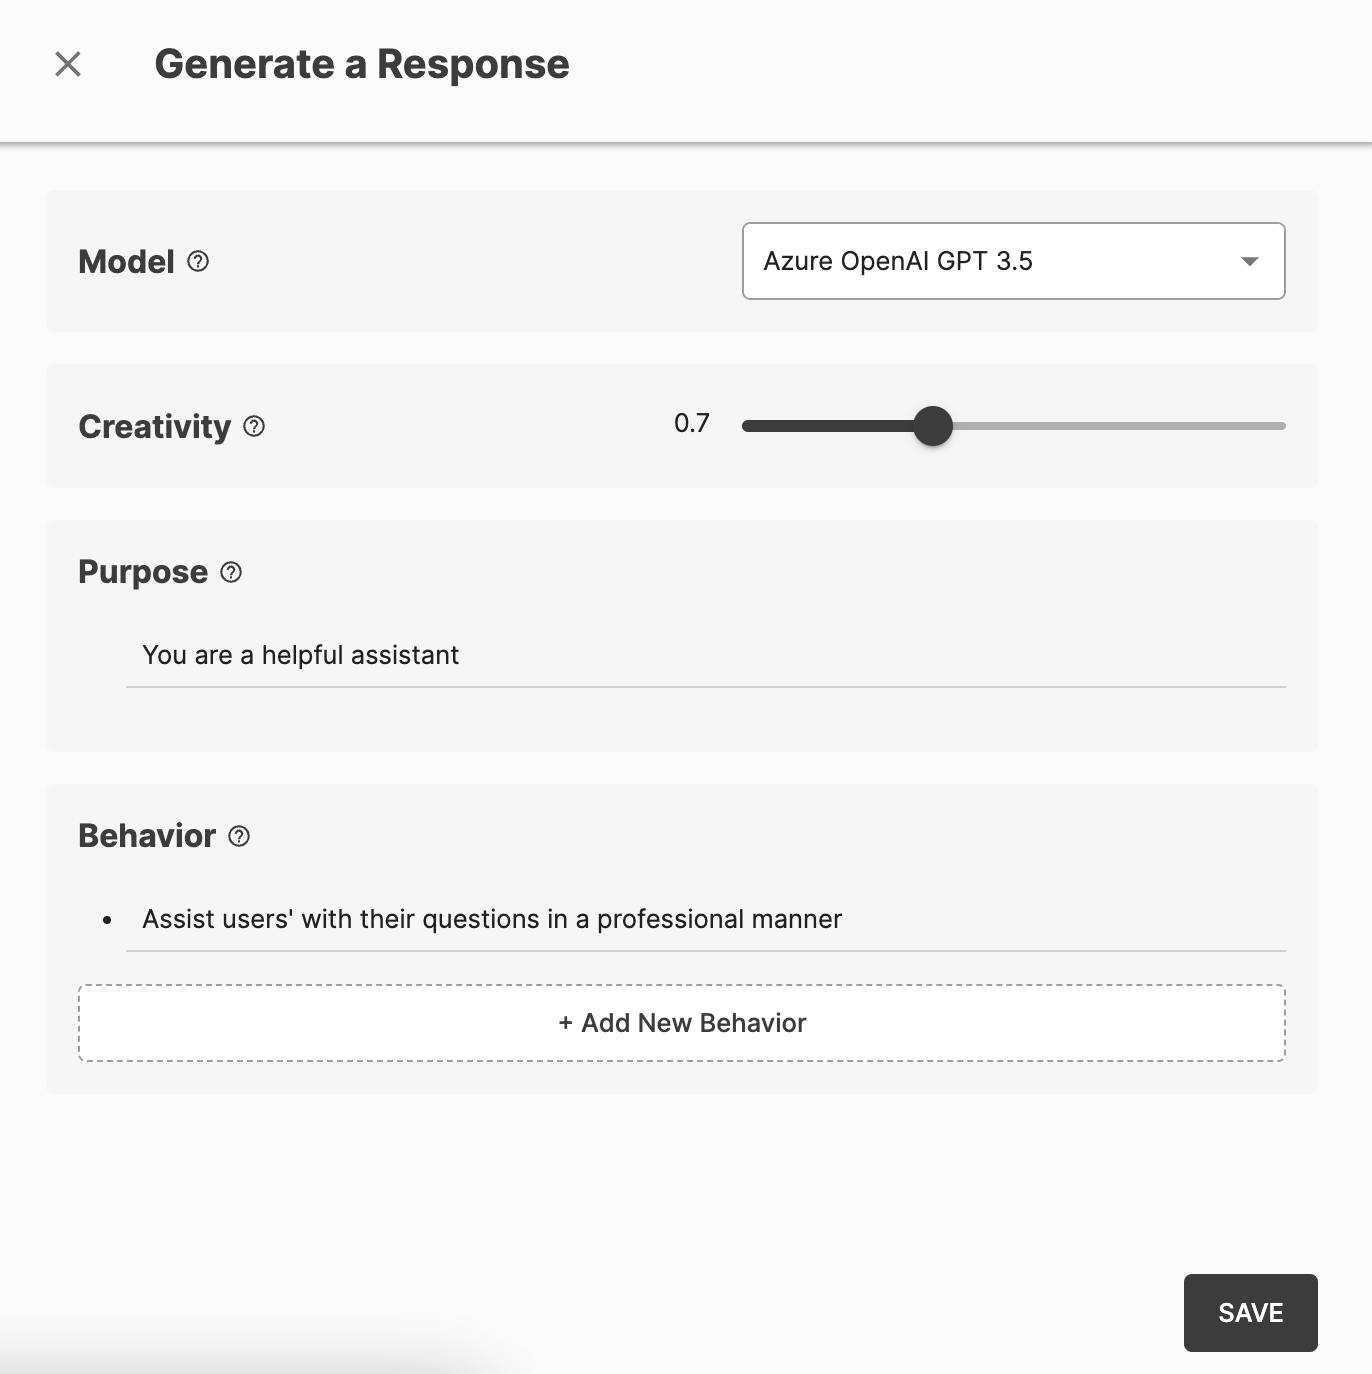
If you have any experience with ChatGPT or other similar tools, this should be pretty simple. But if not, here's a quick walkthrough of what each property does:
Model: The LLM model for your agent. We recommend to start with Azure OpenAI GPT 3.5 since it's the fastest and most reliable model for most cases
Creativity: As its name suggests, controls the level of improvisation in the responses. A lower value means less creative improvisation. To strike a balance between optimal performance and not excessively constraining the model's capabilities, a setting of 0.7 is typically recommended. However, if your specific use case requires a different approach, you might consider adjusting this value accordingly.
Purpose: A simple statement telling the model who they are and what they do (e.g. "You are a customer support at Vext", "You are a knowledgeable professor at Stanford", etc)
Behavior: This involves guidelines on the response style, including the tone of the reply and the format of the output, such as JSON, HTML, among others. We recommend to experiment with these settings to fine-tune the responses to your preference.
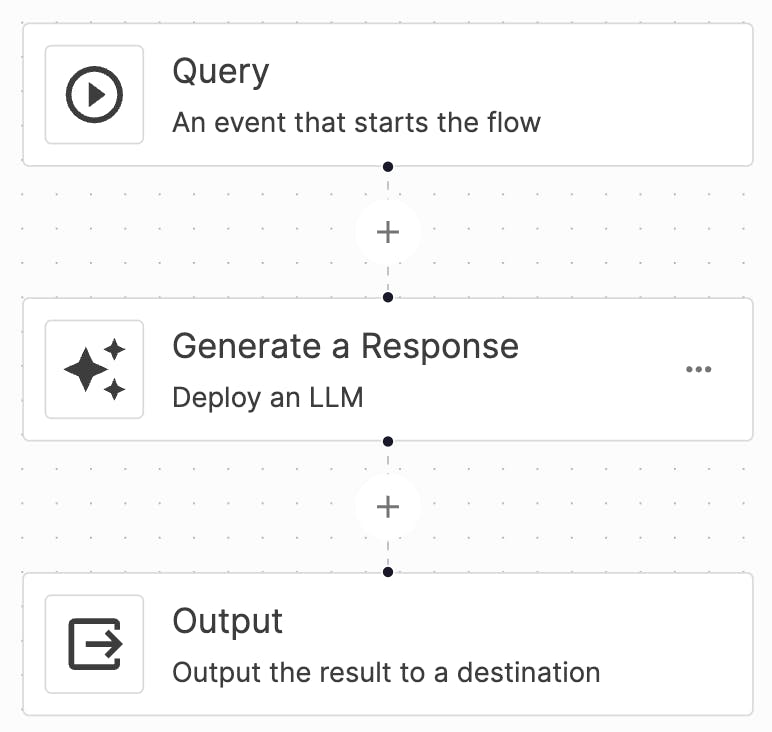
Once done, hit "Save". Now you should have a simple one-step-workflow that looks like this:
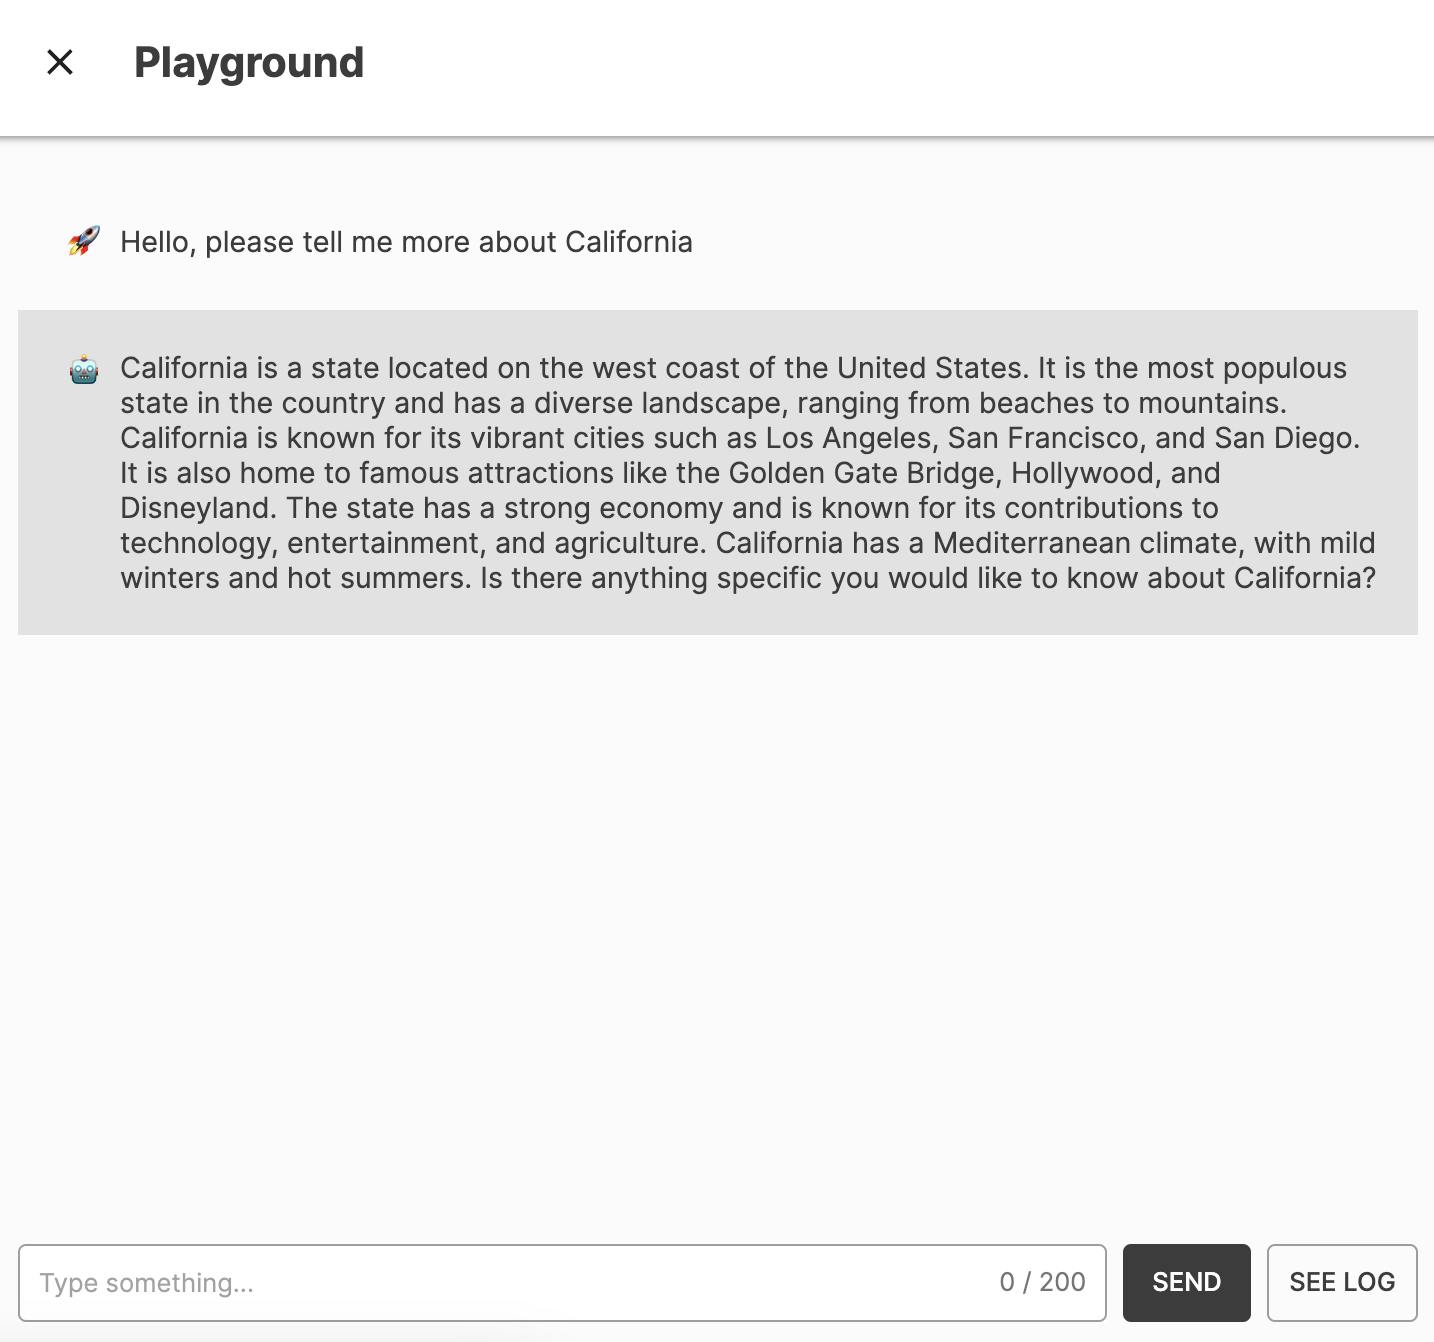
Now, to test it, remember to turn on the project by toggling the switch on the upper left of the workflow panel. Once turned on, click the "Playground" button on the upper right of the workflow panel.

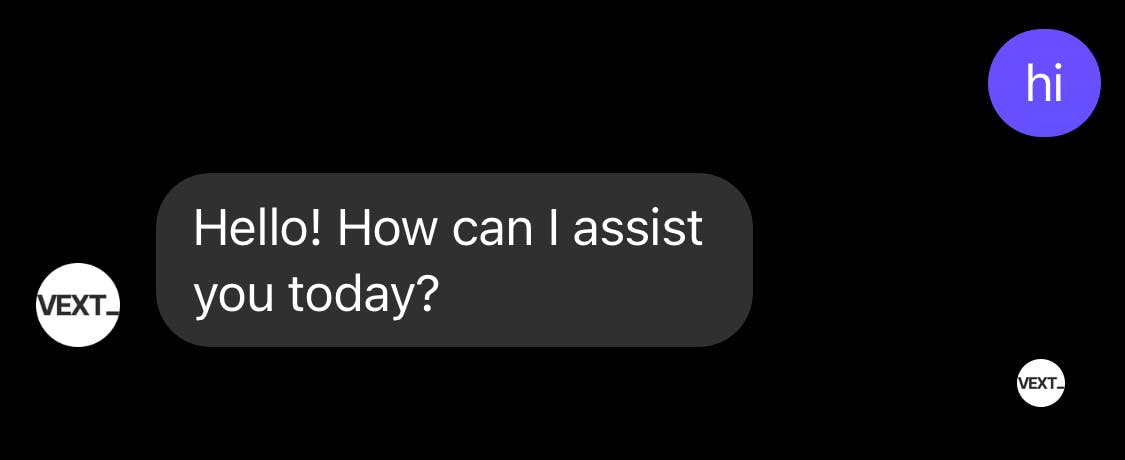
The "Playground" drawer will appear from the right side and give you a simple interface similar to ChatGPT to test your workflow. Here is an example of how you can test it in the "Playground" section:
You have a working agent! Now, the question is, how are you going to connect this to messenger. As of today (Jan 29th, 2024), we're still working on a native messenger integration. But there's a simple workaround which involves another tool called "Message Bird".
Signing Up For a Free Account with Message Bird
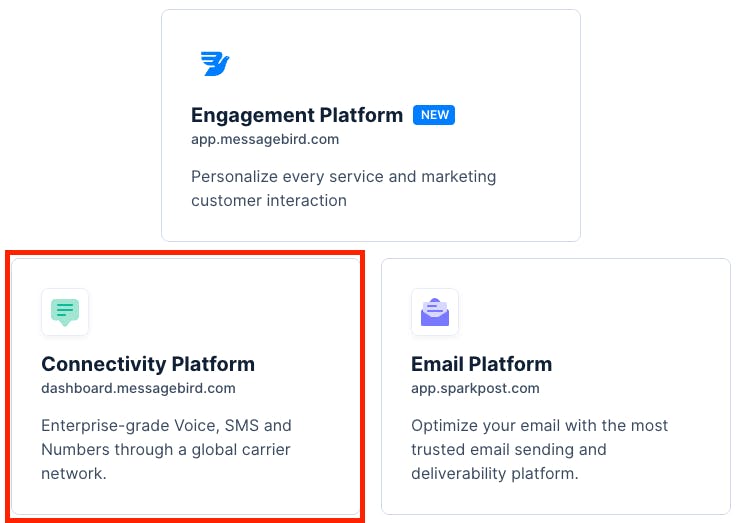
Go to Message Bird, hit "Sign In" on the upper right corner, and select "Connectivity Platform".
Now, you can either signup via email or Google SSO (we recommend Google SSO). Once logged in, go to "Enable Channels" on the navigation bar or simply click the "Setup a channel" option on your home page.

Select a channel that you'd like to set up with, and follow the instructions. Let's use Facebook Messenger as an example here. After following the set up instructions provided by Message Bird, head over to "Automate Work" via the navigation bar, then hit "New flow" on the upper right.
Select "Conversation" as your trigger, and select the channel that you finished set up earlier, and in this example, we're using Facebook Messenger.
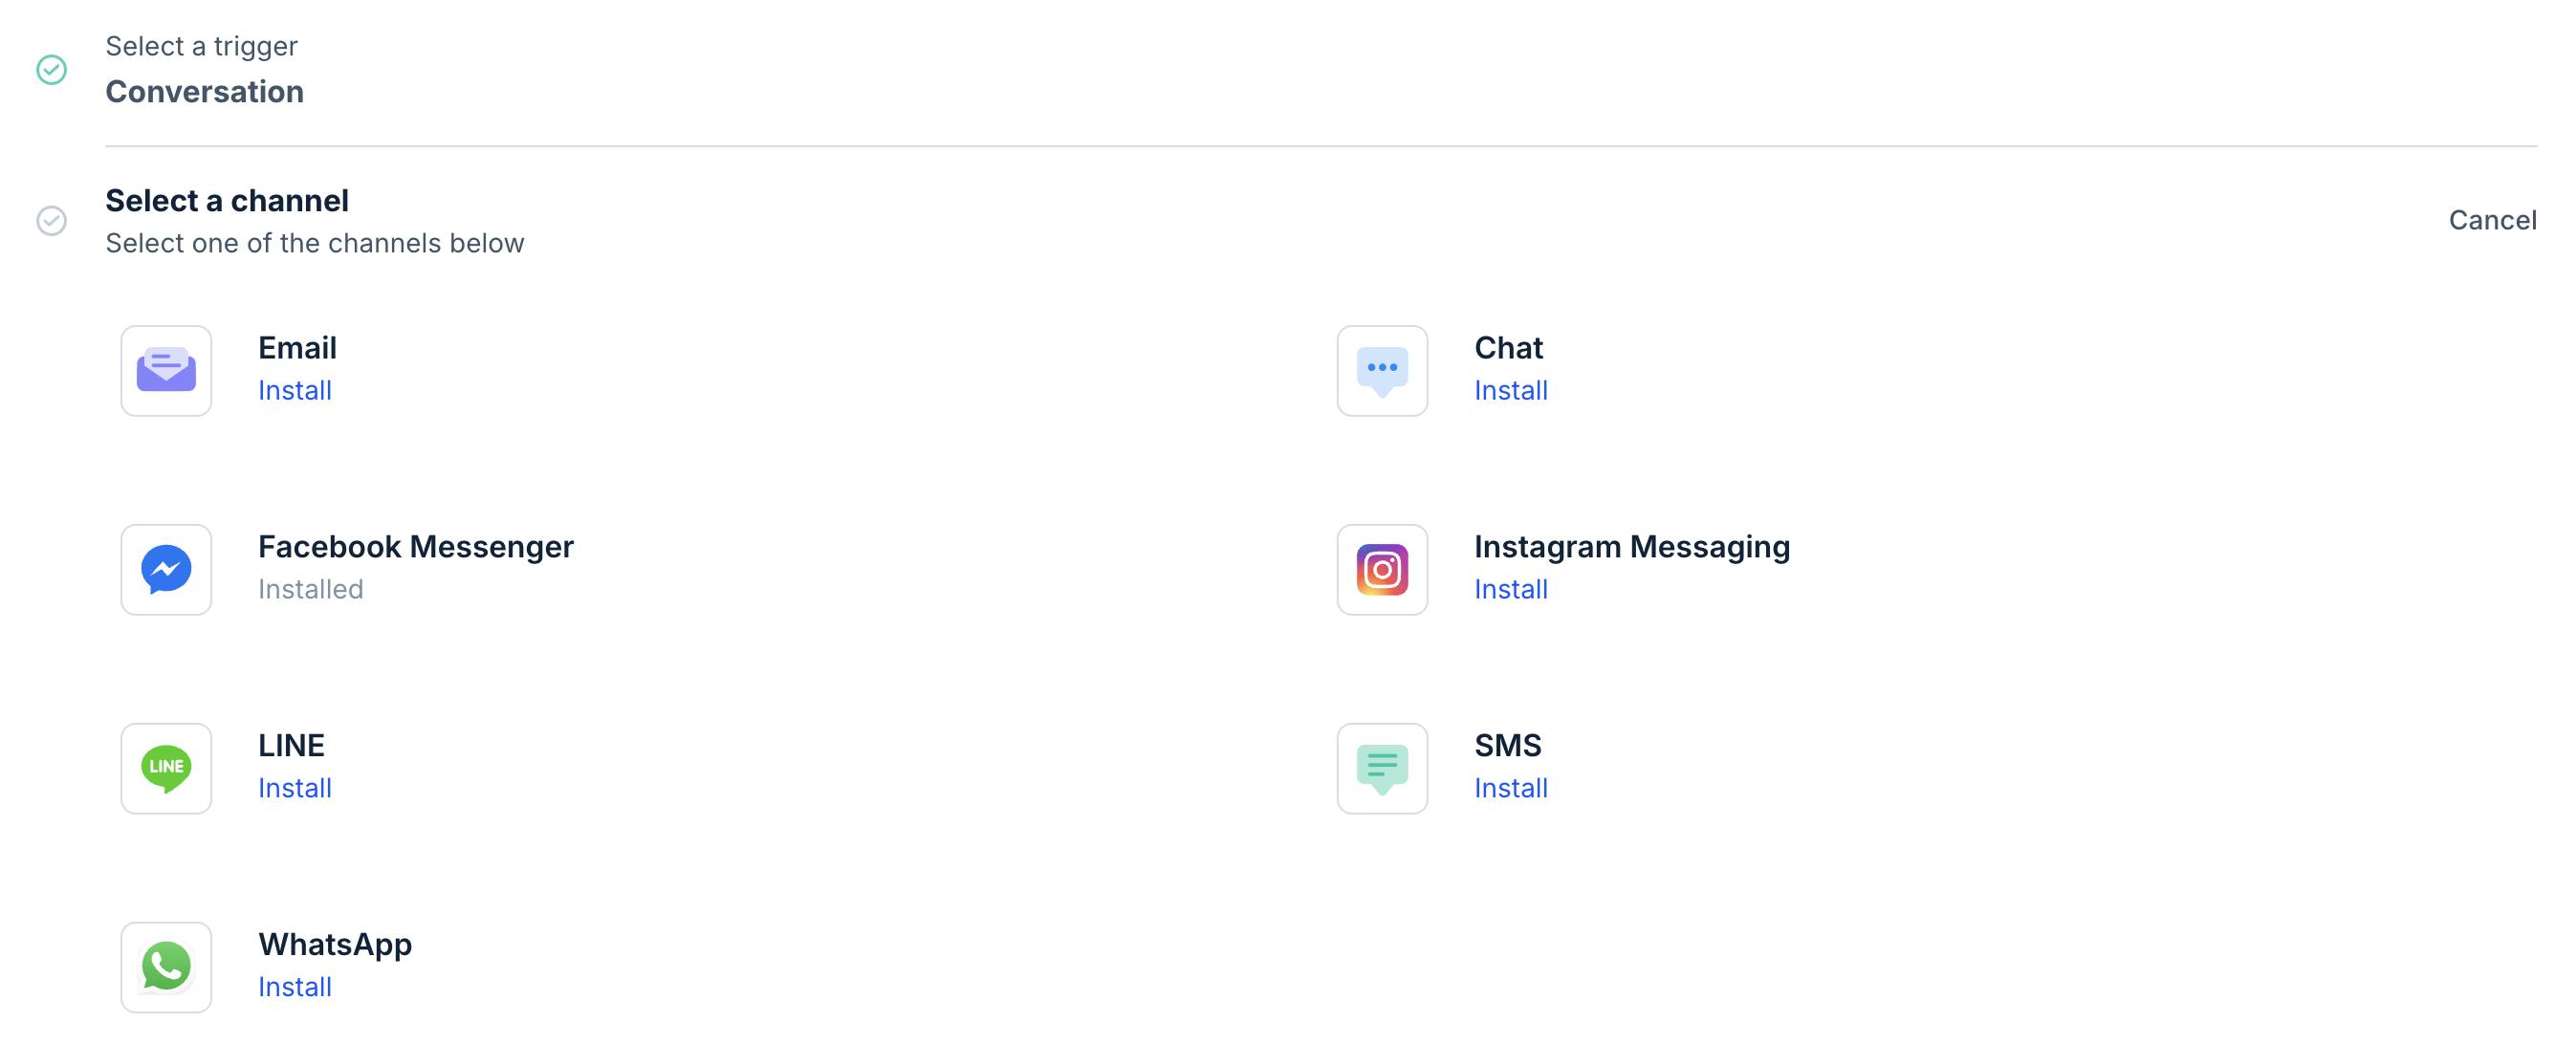
There will also be other things that you'll have to choose depending on which options you chose, but should be self-explanatory.
Keep in mind for the trigger event, please select "Message Created". This will trigger every time when there's a new message sent to the messenger.

Finally, it will ask you to run a test, but you can just select "Skip test" to use the sample data provided. Once hit "Skip test", you will have to select an action, let's choose "Http request".
This means that we want to connect (or call) Vext using HTTP request whenever there's a new message triggered via Facebook Messenger.
Here's a quick overview of the set up:
Operation: Post
Configuration:
URL: Head over to the Vext project you've created earlier, hit either the "Query" or "Output" action, and you will see this:
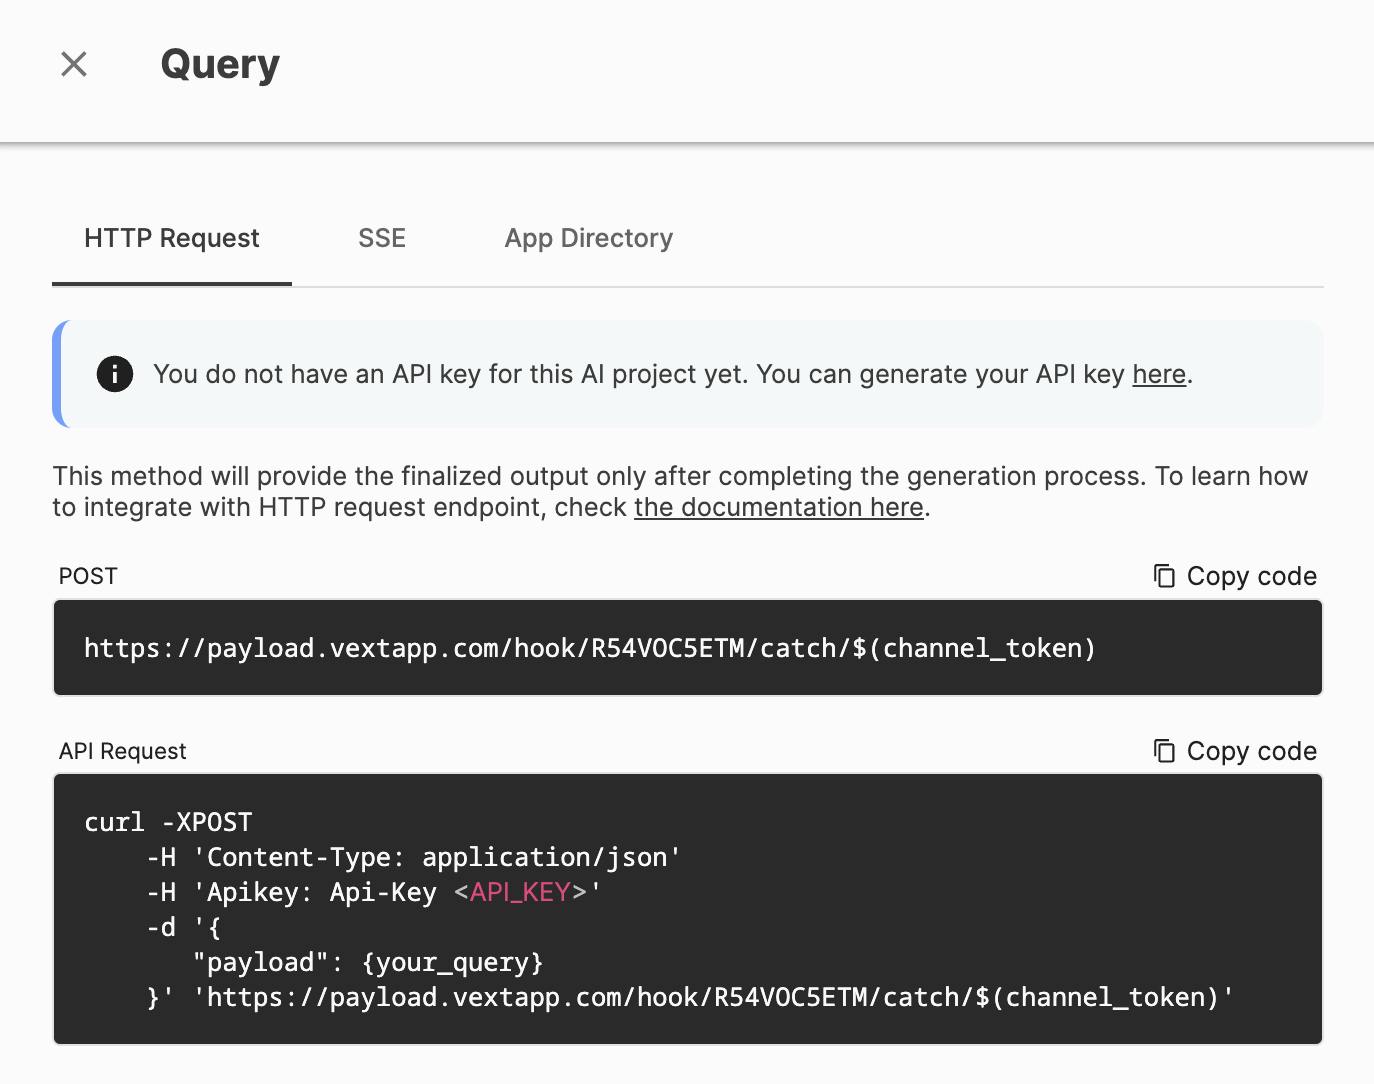
Copy the URL in the "Post" section, and paste it in the URL field in Message Bird like so:
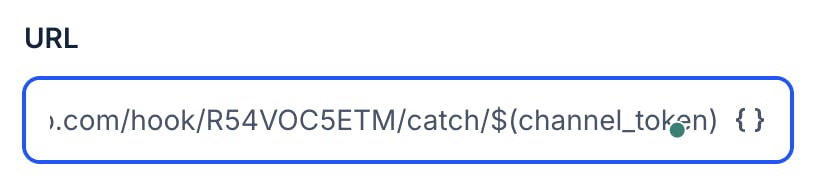
Now, remove the ${channel_token} part and enter a label, say, "fb", or "messenger". As long as it's a string with no special characters that comes in one word it should be good.
Note: the URL is different for every project.
Advanced: Want to set up memory for your messenger bot?
Instead of typing a name for the ${channel_token}, you'll have to click the "{ }" at the end of the field and find a unique id, e.g. conversation id, so that the Vext project remembers the users throughout the conversation.
Content type: application/json
Headers: Head over to Vext and select "API Keys" via the navigation bar. Hit "Create API Key", give it an internal name, and select the project you created earlier and hit "Generate" and you will see your API Key for the Vext project.
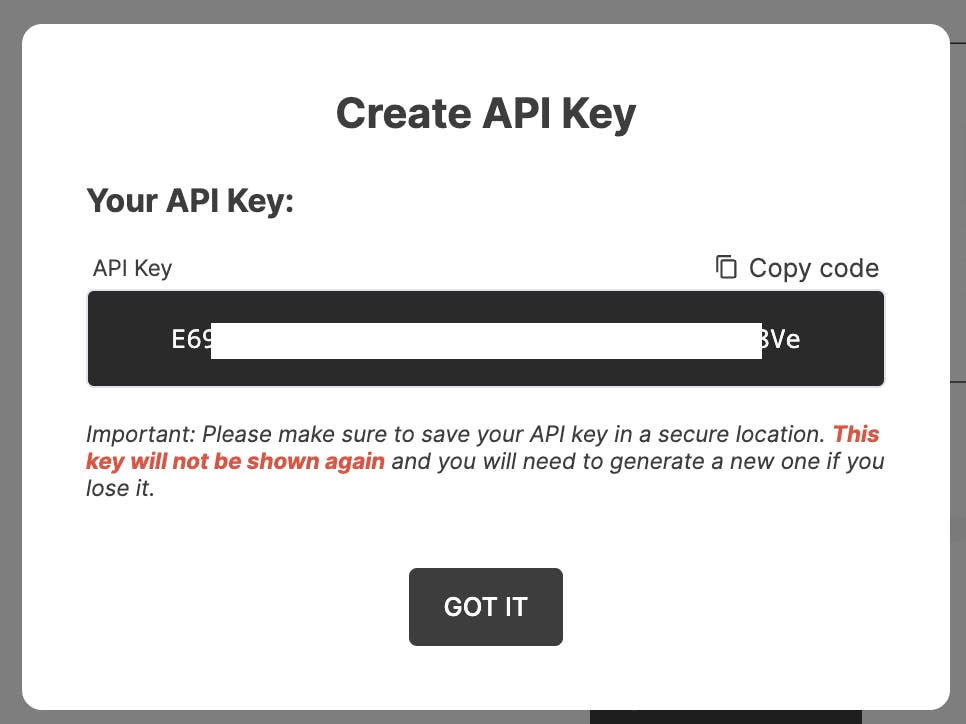
Please keep this key somewhere safe as you will need to paste it to Message Bird later, and you will not be able to see this key again once you close this pop-up interface.
Now, switch over to Message Bird, and click "+ Add header" under the Headers section, and enter "Apikey" in the first field and "Api-Key {key you generated via vext earlier}" in the second field like so:

Note: We've converted parts of api key into asterisks for security purposes
Click "Add +" via the "UI Editor" and create a new field called "payload"

In the next column, try to find the message property via the messenger type you've selected. With Facebook, it's hidden pretty deep as follow: Trigger > payload > conversation > lastMessage > preview > text; once done, it should look like this:

Timeout: 10
Test: Now hit "Run test", and if it gives you a "Succeeded" message, then you're good to move on. If it's giving you an error, please go through the configurations and make sure if everything is set up correctly.

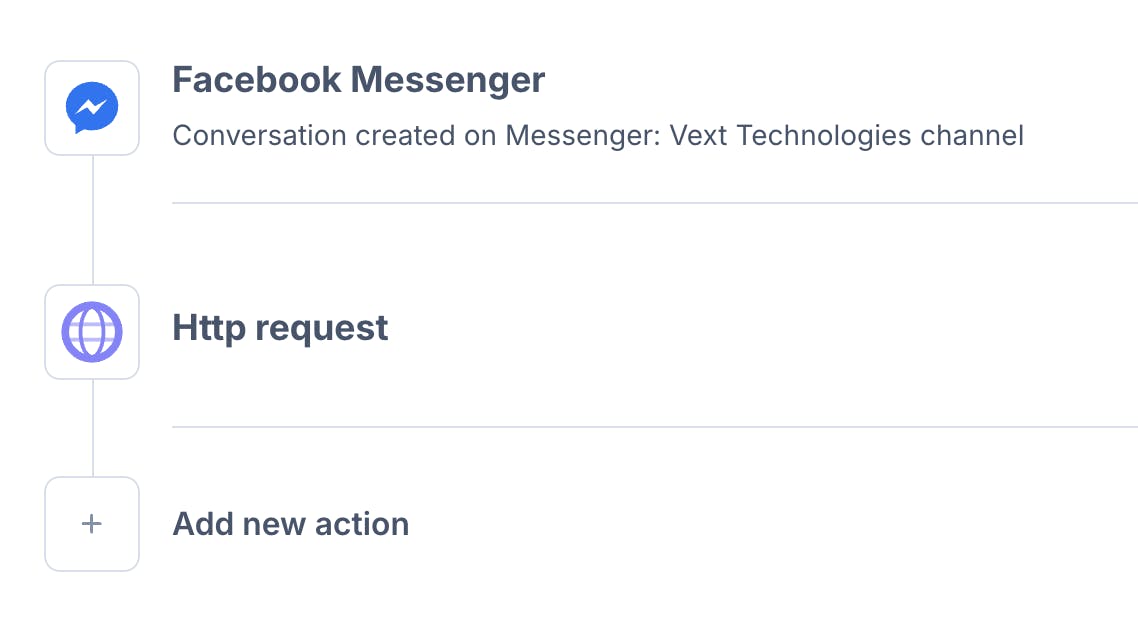
Finally, add another action to return the response generated via LLM to the user via the messenger of your choice. Hit "Add new action" to the bottom of "Http request" action we just added earlier:
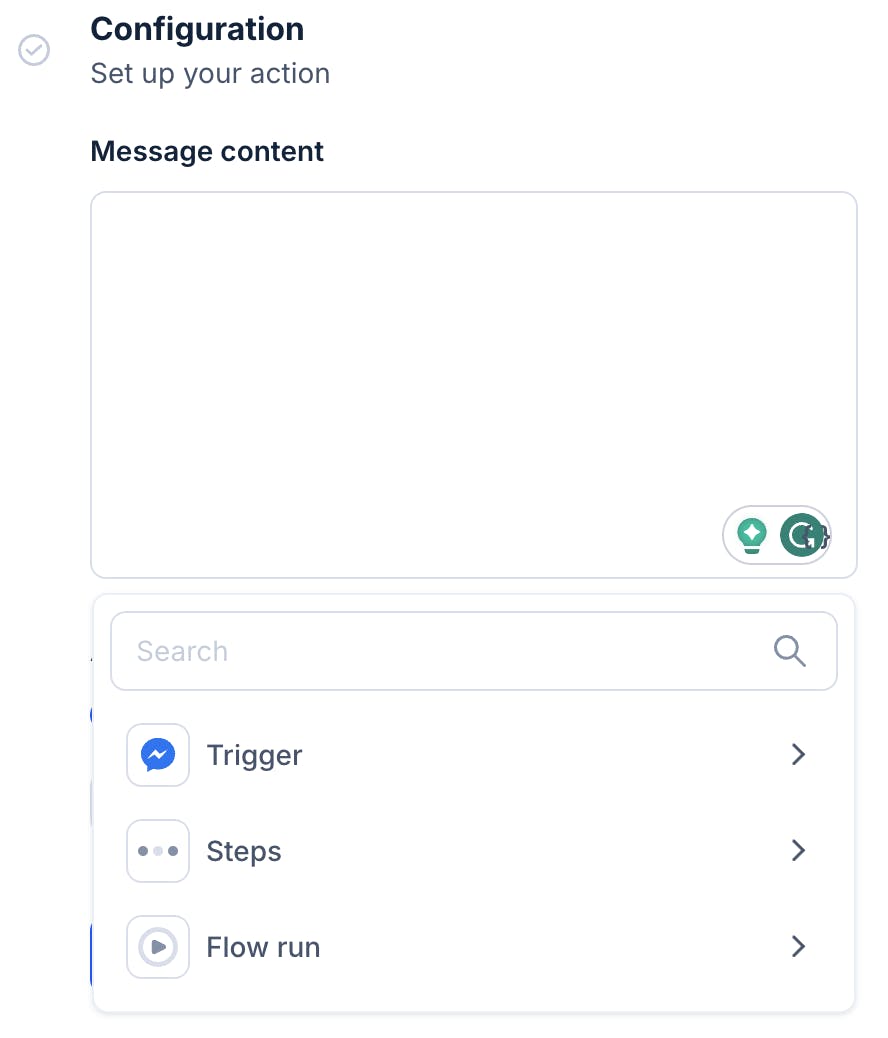
Find and select "Send plain text message to conversation". Once selected it'll take you directly to the configuration interface with a "Message content" text field, and clicking on the text field will trigger a menu for you to bring the variables generated via the previous actions:
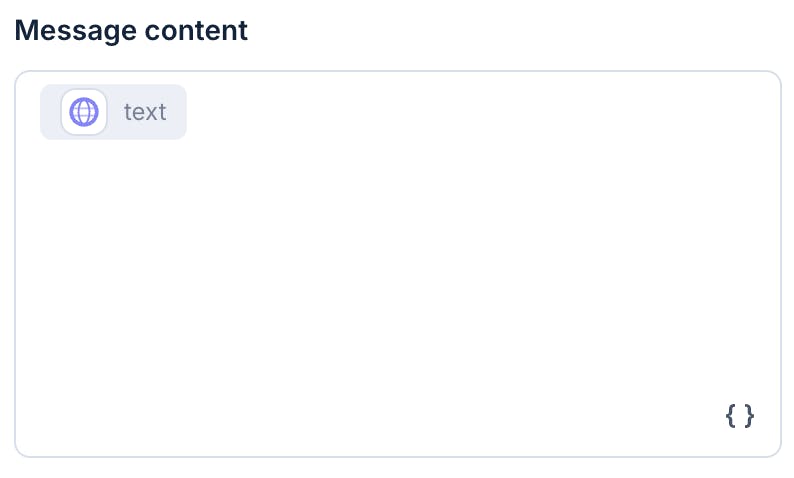
Click "Steps" > "Http request" > "body" > "text", and if done correctly, it should look like this:
Once done, hit "Next" and hit "Run test". The test usually will take a few seconds. If it gives you a "Succeeded" message, then it means you're all set! If it's giving you an error, please go through the configurations and make sure if everything is set up correctly.
Now hit "Save" and "Publish draft" on the upper right corner.
Final Result
If done correctly, you should be able to get the response from the LLM you set up with Vext via the channel.
Bonus 1: Providing Proprietary Data to Your Messenger Bot
There are cases when your bot will need proprietary data/info to function properly, such as a customer support bot that's capable of providing FAQ or knowledge base information that's unavailable to the LLM by default. In this case, you'll need to add a "Data Set" and import to your project.
To do so, go to Vext and hit "Data Sets" via the navigation bar. Then click "Create Data Set" button to get started.
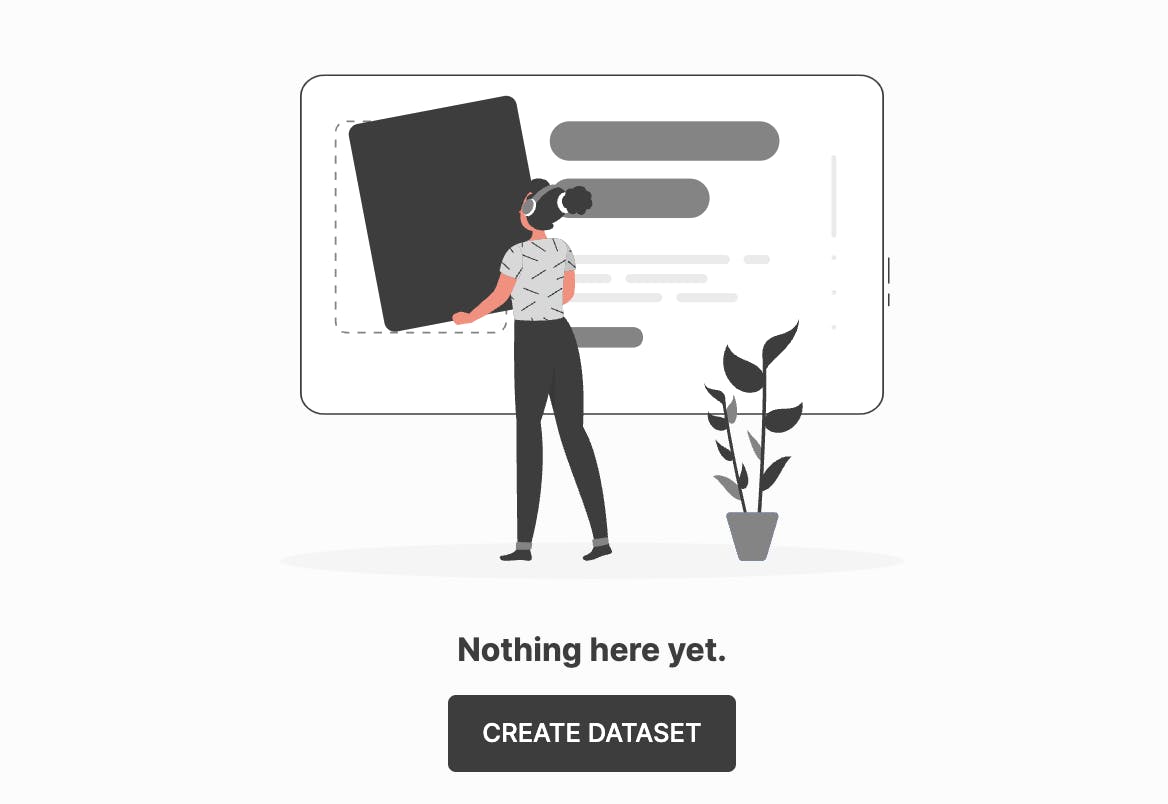
First, it'll prompt you to create a Data Set name. This is for internal use only, so keep it simple and identifiable.
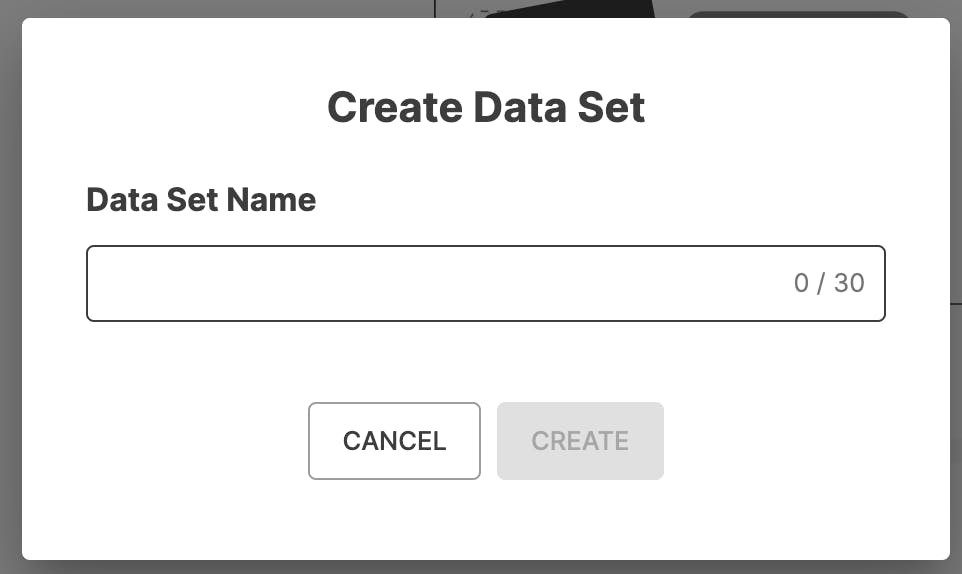
Next, you will be navigated to an empty Data Set page where you can add any data you want to the Data Set.
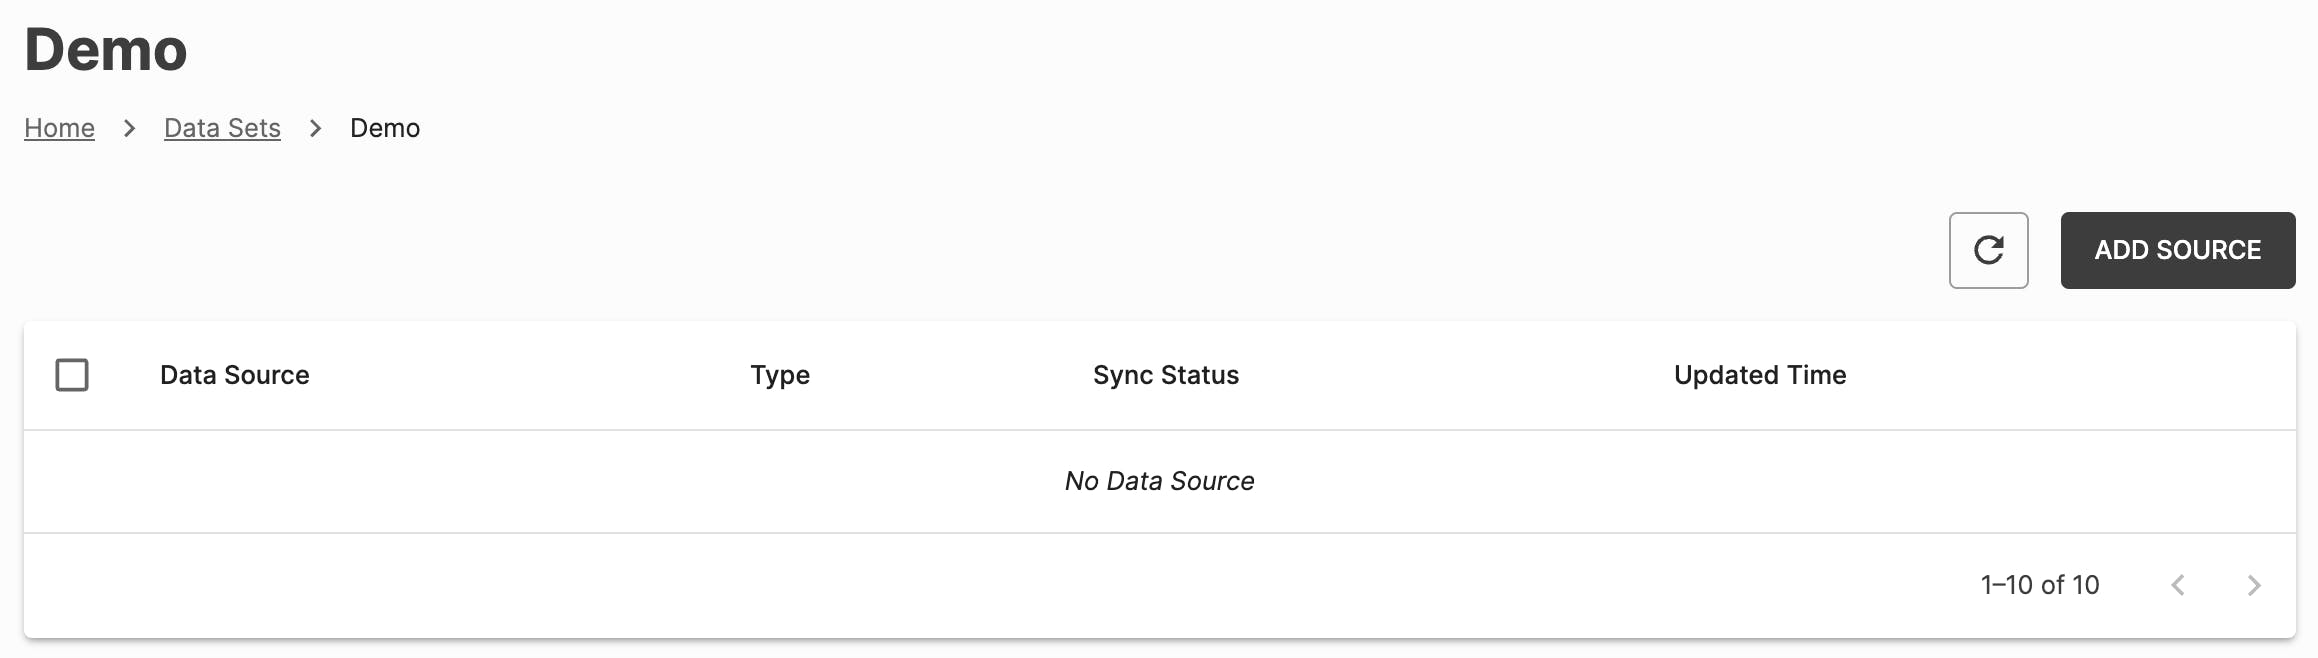
Hit "Add Source" and select the file type you'd like to upload. In this example, we'll use "Webpage Crawler". But you can select other options depending on your use case.
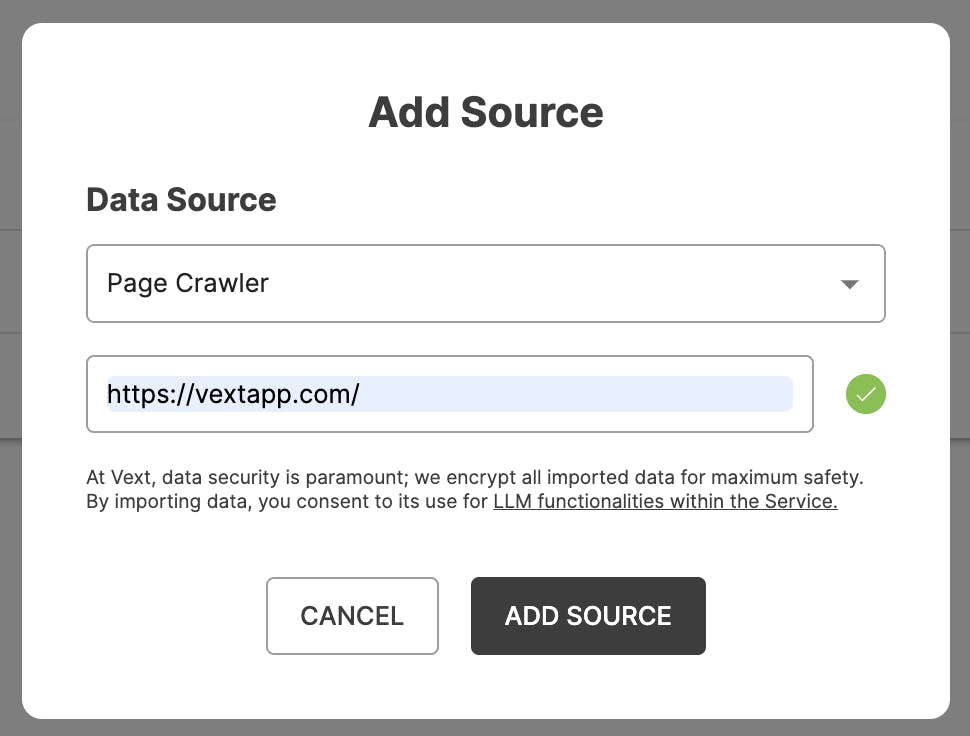
Once done, hit "Add Source" and the system will begin processing your data. Usually it'll take a minute or less.

You can keep checking by clicking the refresh button. Once done, the status chip will change to "Ready".

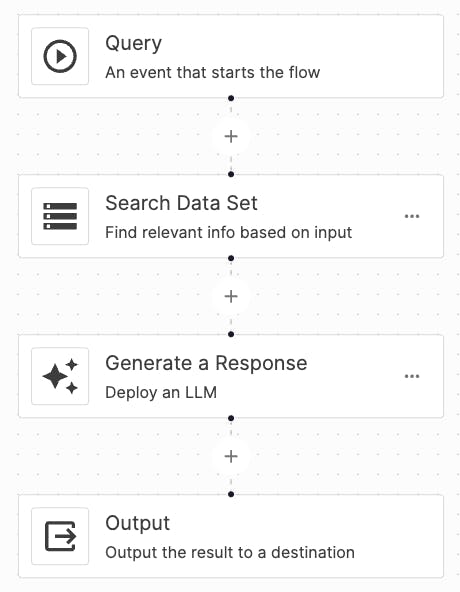
Now, go back to the project you created, and add a "Search Data Set" action before the "Generate a Response" action like so:

And select the Data Set that you added earlier within the drawer. Once selected, the Data Source field will show the source you added earlier.
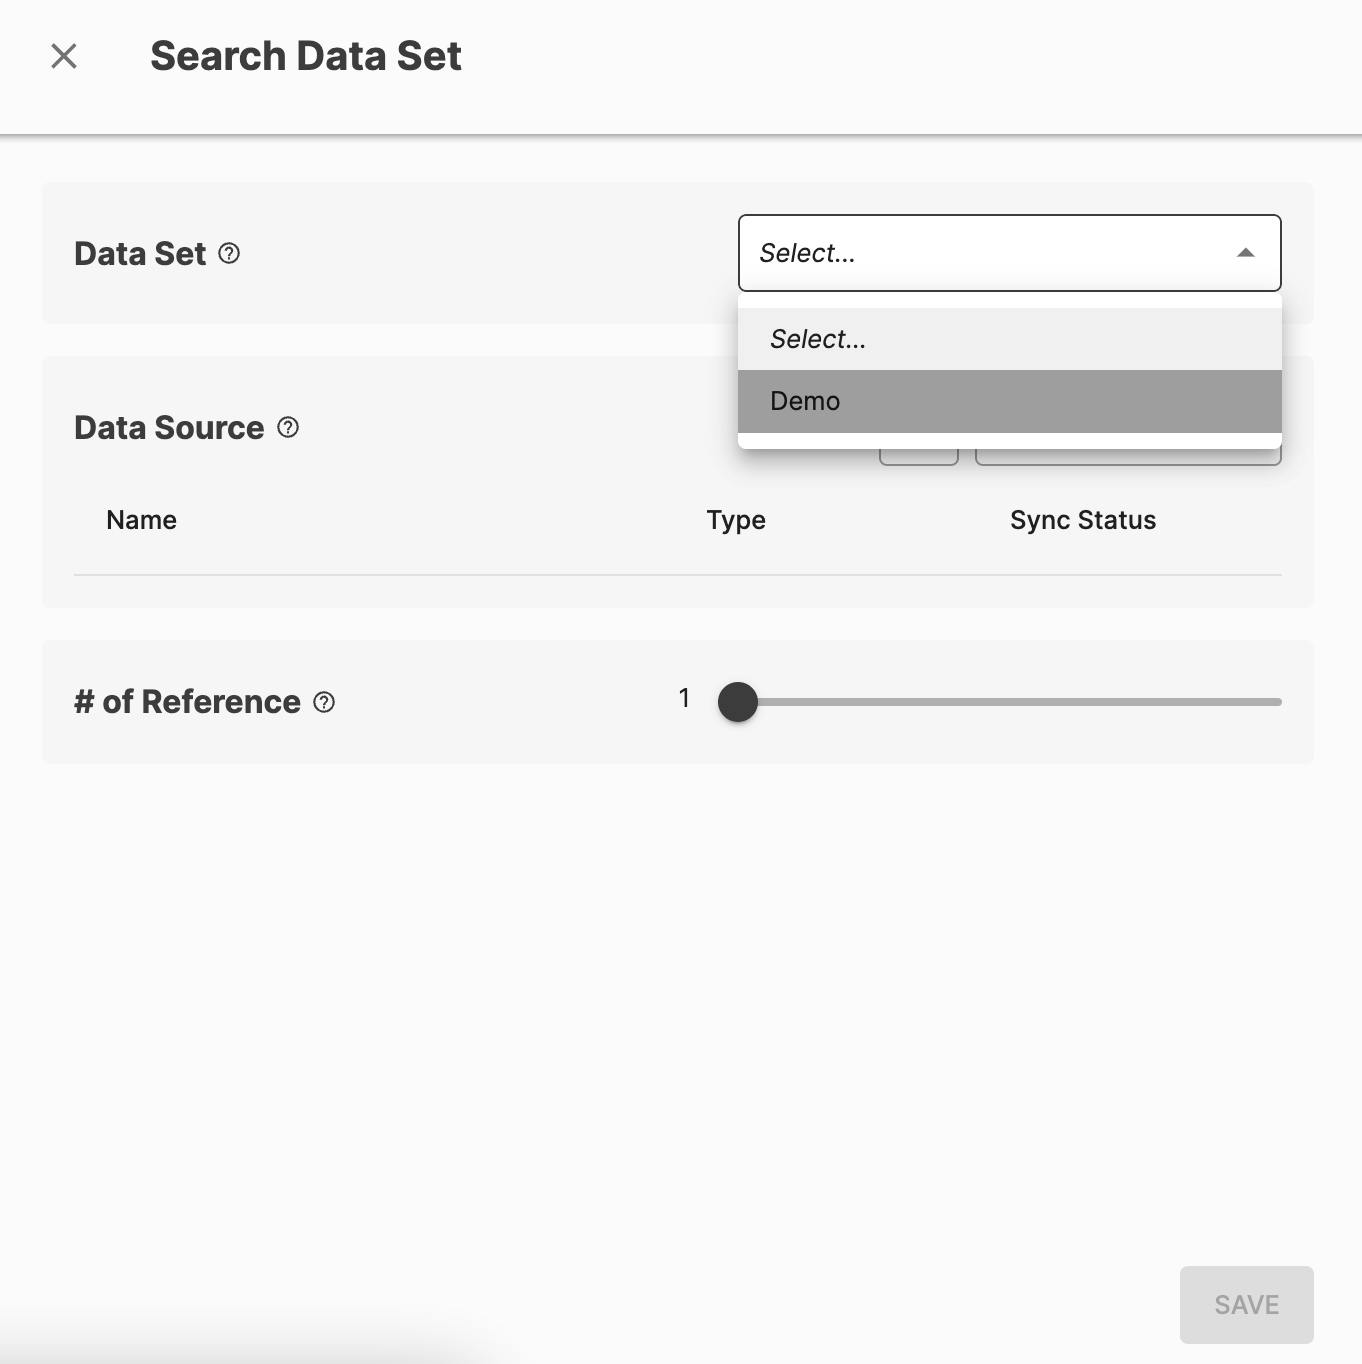
Under the "# of Reference" configuration, the system allows you to select how many sources to refer to per query. We recommend setting it to 3 (maximum for free plan).
Once done, hit "Save", and your workflow should look like this:
Now, when a new query triggers, it will always look through the data set you've imported and use those as a base for response generation.
This greatly reduces the chance of LLM hallucination, providing a more reliable experiences for your users.
Bonus 2: Giving Your Messenger Bot Memory
To give your messenger bot memory, go to the project and click the ellipsis icon next to the "Playground" button:
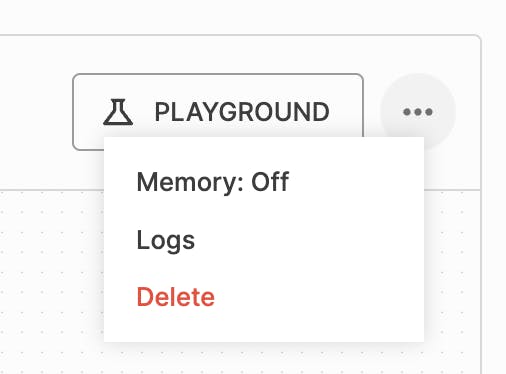
Simply click "Memory: On/Off" to toggle the memory.
Note that this will only work if you set up the Http request properly. See the "Advanced: Want to set up memory for your messenger bot?" section in this article.